Welcome to Wizart Home - Interior Design Solutions
Before you start integrating the visualizer, you will need to register in the PIM system (backend of the visualizer) at the following link: PIM admin tools.
The visualizer is one system with your PIM account, so for correct operation, don’t forget to upload products in the structure that will be described here. Full upload instructions: How to upload products into PIM system. This step is very important. Don’t forget to import products, or ask for help in setting up your PIM account here: [email protected].
All parameters are described in the settings, you can control many parameters, or set up the button yourself using CSS code. If you have any questions, contact here: [email protected].
A button on the website's product page
A fixed button on the website's homepage
An iframe integration on the website's product page
Session expired
Please log in again.
The login page will open in a new tab. After logging in you can close it and return to this page.

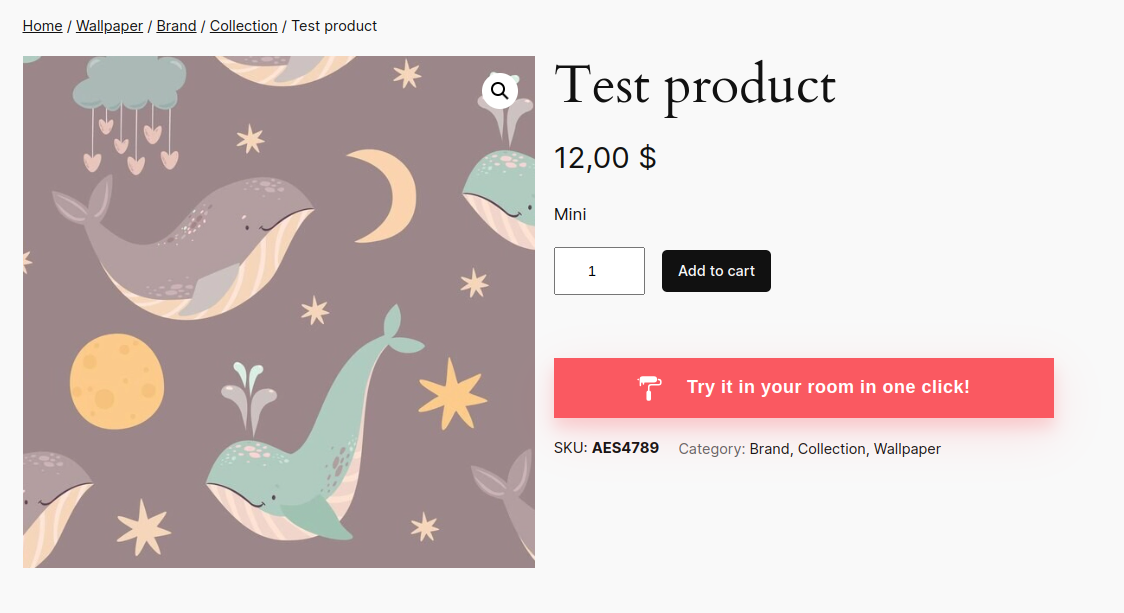 A button on the website's product page
 A fixed button on the website's homepage
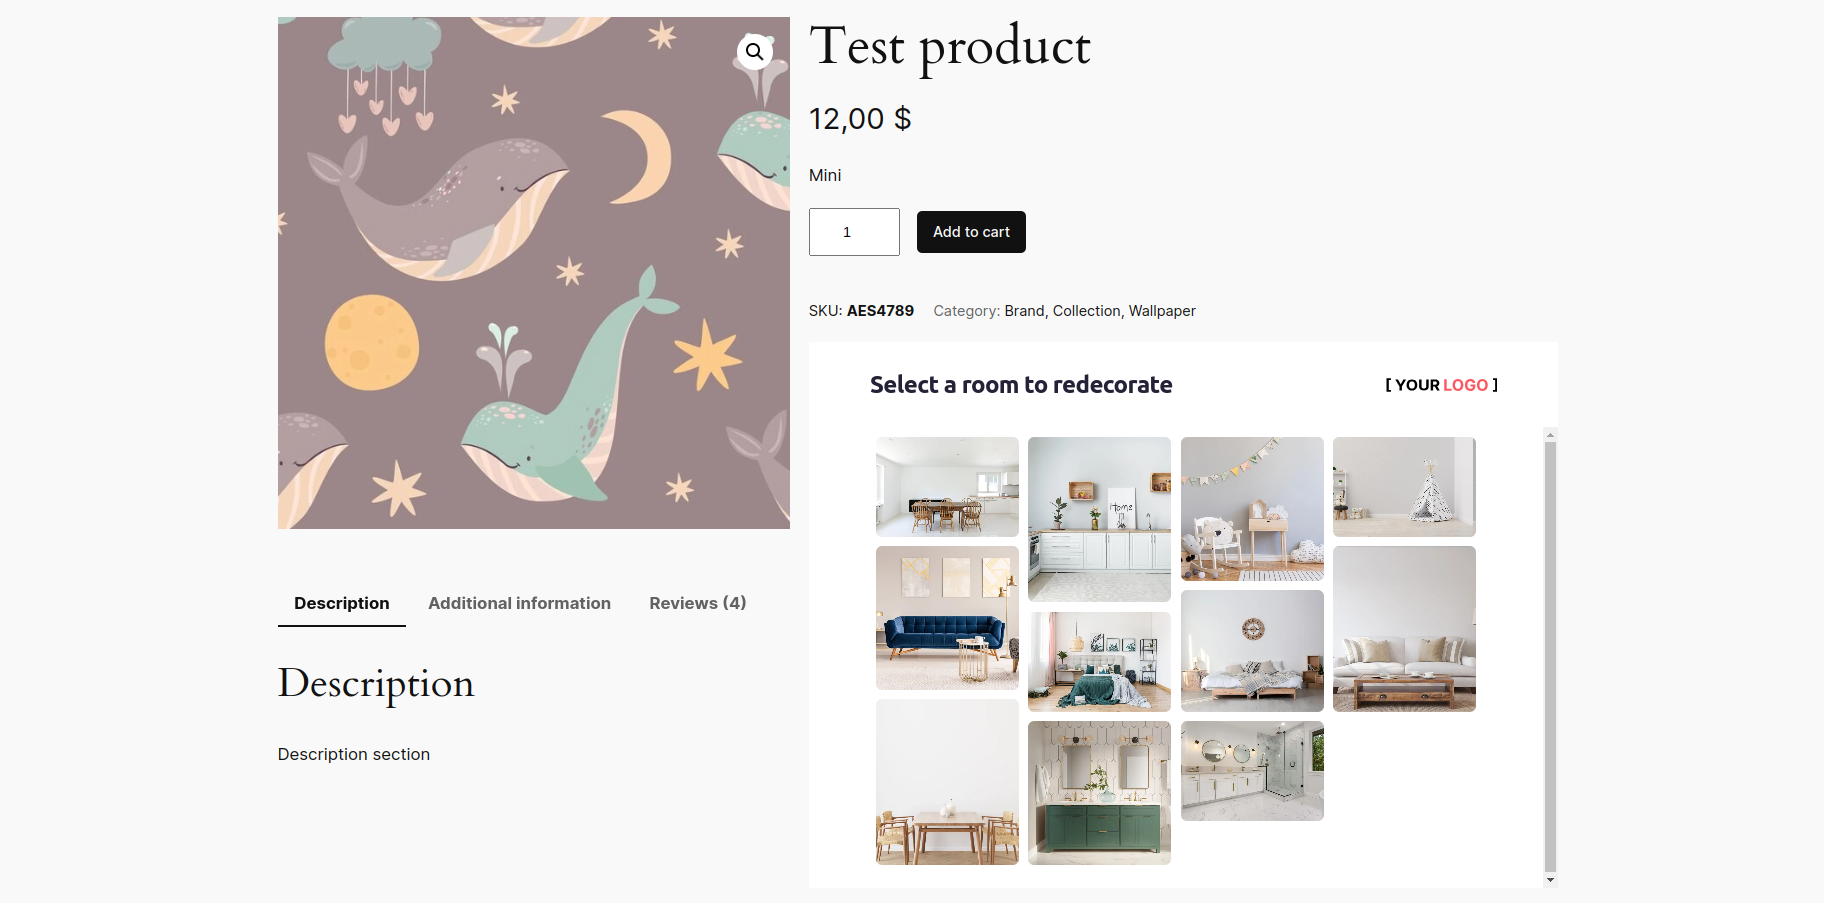 An iframe integration on the website's product page